The Legend of Zelda for the NES 2nd dungeon walkthrough
If you are having issues with the 2nd dungeon, here is a good walkthrough.
Here’s a walkthrough on how to get to the second dungeon in The Legend of Zelda for the NES:
- Start at the game’s beginning point, where you begin in the center of the overworld.
- Head directly south from your starting point, crossing a small bridge.
- Continue heading south until you reach a pathway that splits into three directions: one going south, one going east, and one going west.
- Take the path that goes east and continue in that direction until you reach a lake.
- From the lake, head north, and you’ll come across a large tree. Burn the tree using your candle to reveal a hidden staircase.
- Descend the staircase to enter a secret underground area.
- Inside the underground area, navigate through the maze-like tunnels, defeating enemies as necessary. Keep heading north until you find a staircase leading back to the surface.
- Once you’re back on the surface, continue heading north until you reach a clearing with a large number of trees.
- Burn the trees using your candle to reveal another hidden staircase.
- Descend the staircase to enter the second dungeon.
By following these steps, you should be able to reach the second dungeon in The Legend of Zelda for the NES.
Here’s a step-by-step guide to help you navigate through the dungeon:
- Start by entering Level 2. You can find it by exploring the overworld and looking for the entrance, which is typically hidden beneath a bush or a rock.
- Once inside, head to the right and defeat the enemies in your path. Look out for Darknuts, which are tough enemies that require careful timing to defeat.
- Proceed to the right until you reach a locked door. To open it, defeat all the enemies in the room. The door will open, allowing you to continue.
- In the next room, defeat the enemies and collect any necessary keys or items they drop. Look out for Wall Masters, which are hands that drop from the ceiling and try to grab you. If one catches you, you’ll be taken back to the dungeon’s entrance.
- After clearing the room, continue to the right and defeat the enemies in your way. Make sure to keep an eye out for hidden passages. Use bombs to blow open walls if necessary.
- Proceed to the right until you reach another locked door. Defeat the enemies in the room to open it. Remember to conserve your keys as much as possible.
- In the next room, you’ll encounter Dodongos, large dinosaur-like creatures. To defeat them, wait for them to open their mouths and then use a bomb to stun them. Once they’re stunned, you can attack them with your sword.
- After defeating the Dodongos, head to the right and continue through the dungeon, defeating enemies and collecting items along the way.
- Eventually, you’ll come across a room with a staircase. Take the staircase down to the basement level.
- In the basement, defeat the enemies and navigate through the maze-like layout. Look for any necessary keys or items along the way.
- Keep exploring the basement until you find the dungeon’s boss, Gleeok. Gleeok is a multi-headed dragon that breathes fire. To defeat it, focus on attacking the heads while avoiding its fire breath. Once you defeat Gleeok, collect the Heart Container and any other rewards.
- With the dungeon cleared, head back to the surface and continue your quest in The Legend of Zelda.
Remember, the layout of dungeons in The Legend of Zelda can vary slightly between playthroughs, so the specific details may be slightly different. However, this guide should give you a general idea of how to progress through Level 2. Good luck on your adventure!
Here is the walkthrough for the 1st dungeon.
- Walkthrough 1
- Walkthrough 2
- Walkthrough 3
- Walkthrough 4
- Walkthrough 5
- Walkthrough 6
- Walkthrough 7
- Walkthrough 8
- Walkthrough 9
-
Highguard is Shutting Down: From Game Awards Finale to Game Over in 45 Days
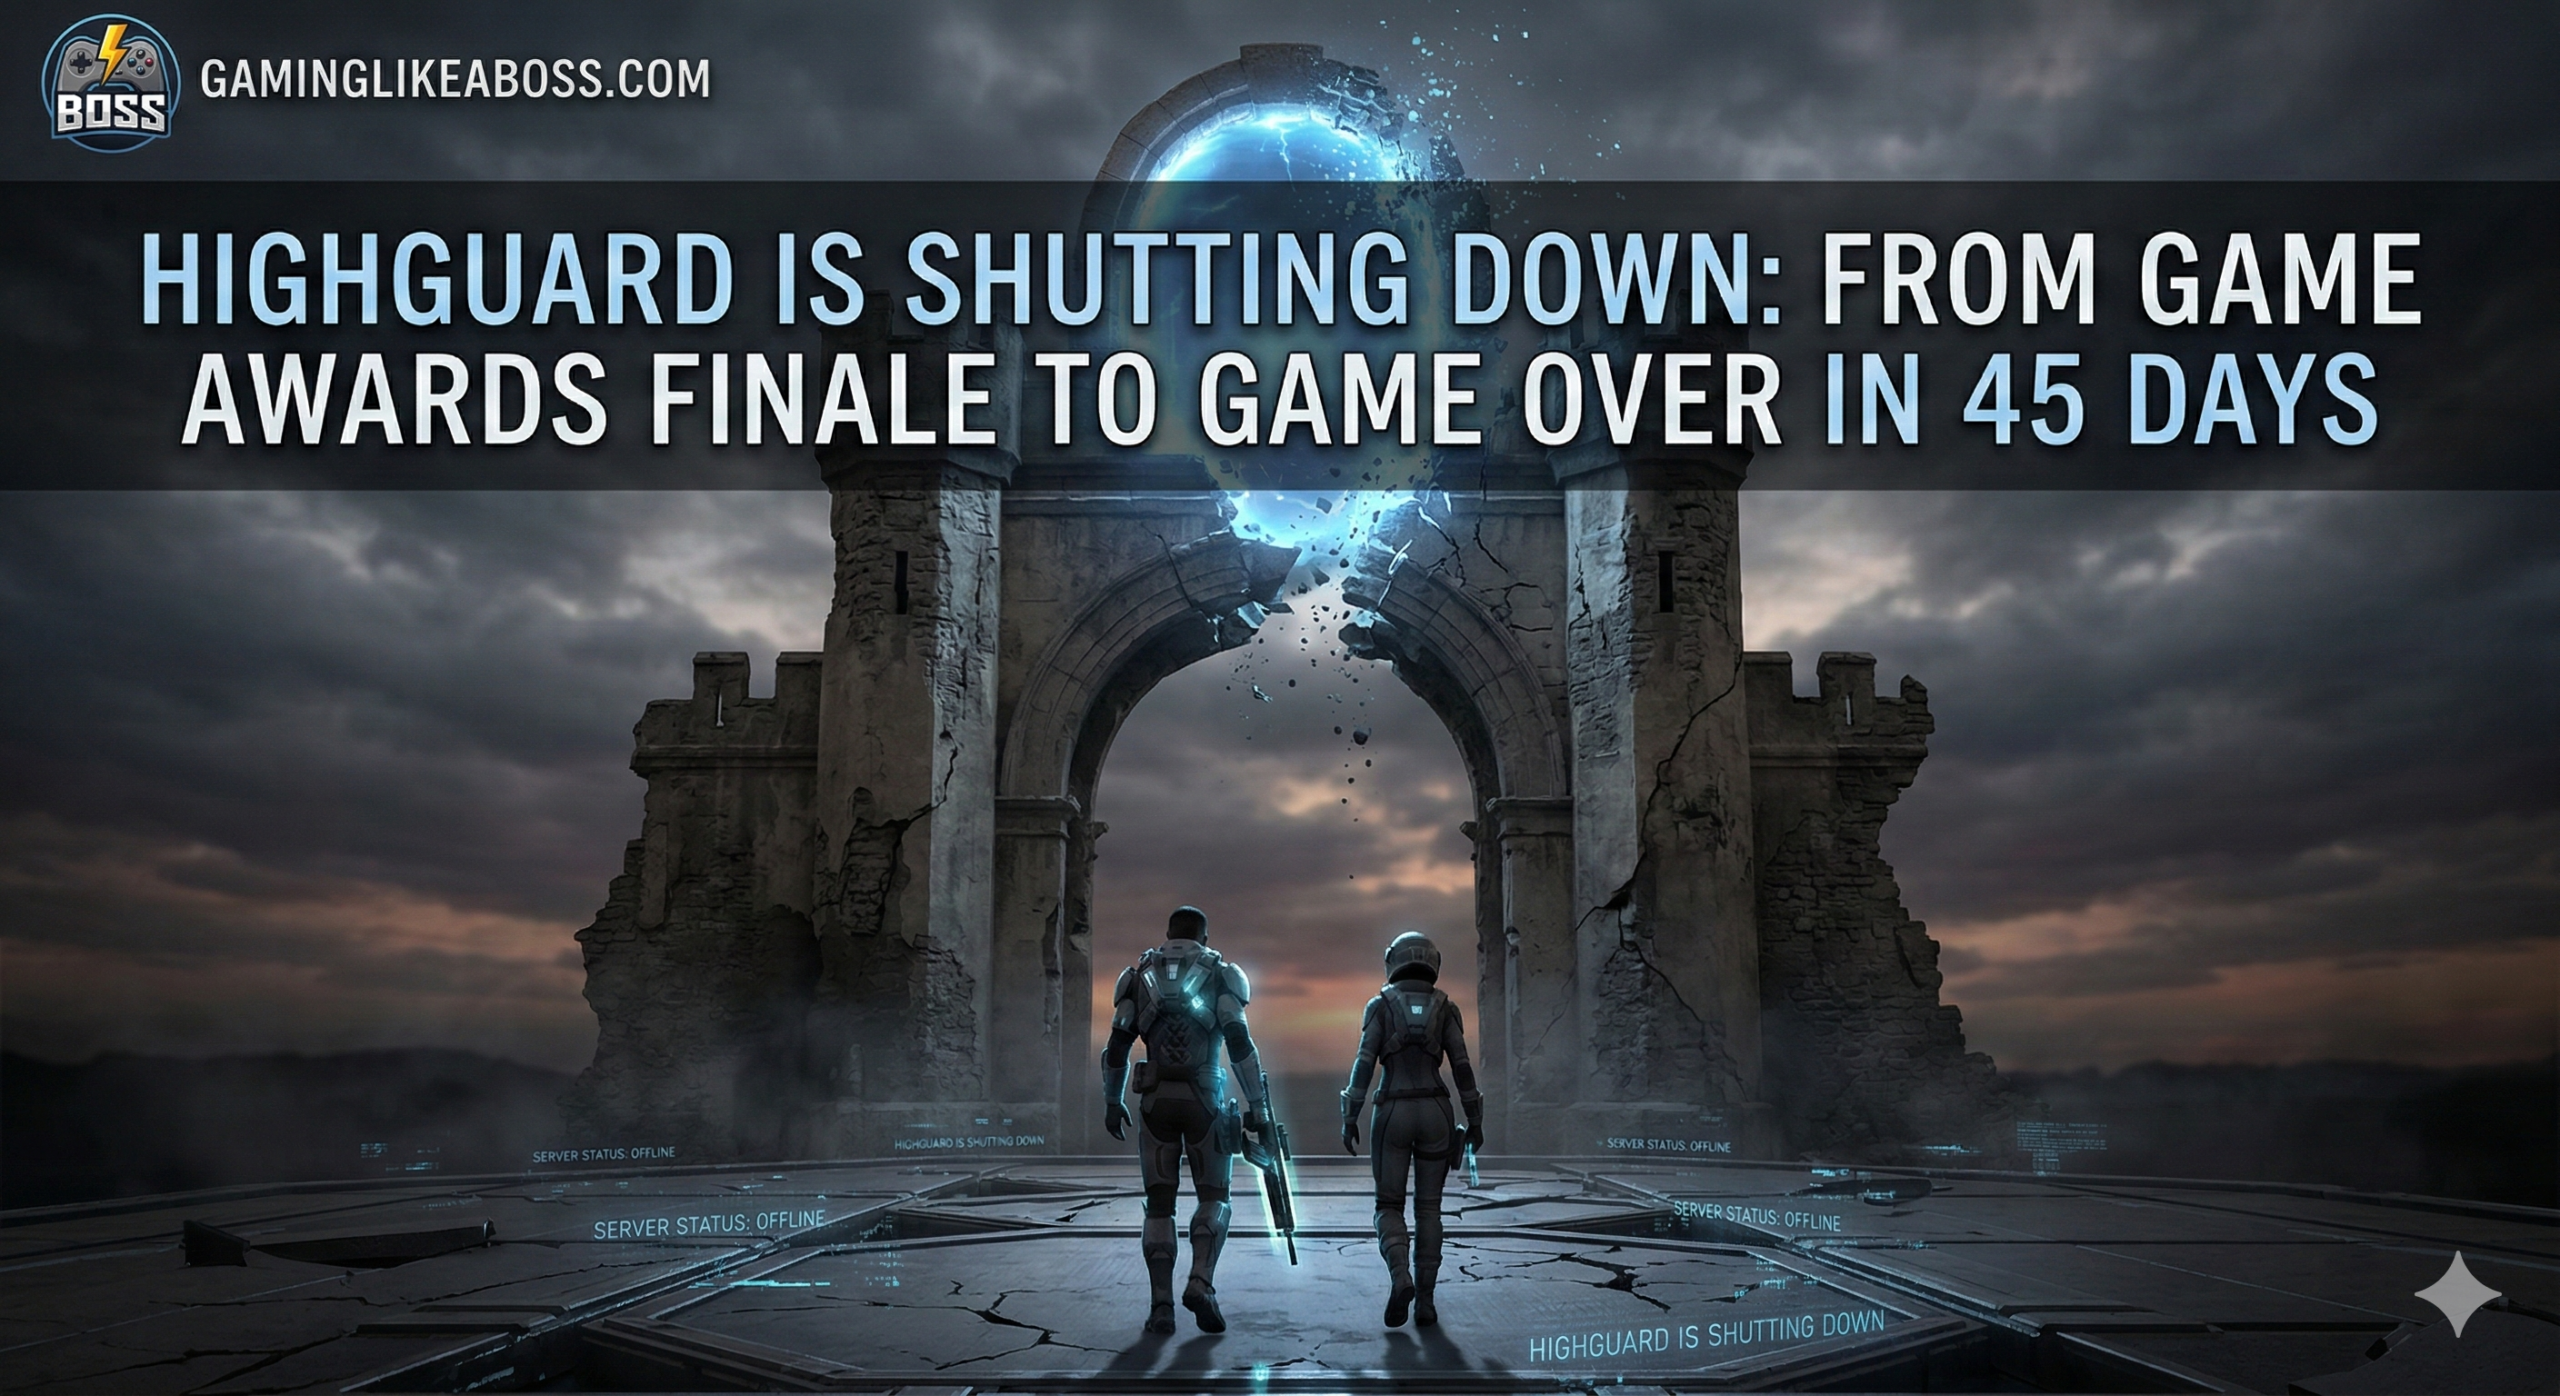
It feels like just yesterday we were watching the final world premiere of The Game Awards 2025, wondering if Wildlight Entertainment—founded by the minds behind Titanfall and Apex Legends—had just revealed the next big thing. Fast forward exactly 45 days from its January 26 launch, and the verdict is in: the lights are going out.…
-
Why 90s Gaming Beats Modern Gaming (And It’s Not Even Close)

Let’s be real for a second. Modern gaming is beautiful, sure. We’ve got 4K textures, ray-tracing, and worlds so big you can get lost in them for a month. But beneath all that polish? Something is missing. A soul. A pulse. If you grew up with a controller that had a cord and a console…
-
PS Plus Extra & Premium February 2026: Marvel’s Spider-Man 2 Leads Huge Update


1 comment