Legend of Zelda NES Dungeon 9 Walkthrough

This is a walkthrough to get to Dungeon 9 Death Mountain and how to get through it.
To reach Dungeon 9 in The Legend of Zelda for the NES, follow these steps:
- Acquire the necessary items: Before heading to Dungeon 9, make sure you have obtained the following essential items: the wooden sword, the boomerang, the ladder, the raft, the power bracelet, the recorder, the bow, the silver arrows, and the magical rod. These items will help you navigate through the game and overcome various obstacles.
- Acquire the whistle: To access Dungeon 9, also known as Death Mountain, you need the whistle. The whistle is obtained by rescuing the old man from the fifth dungeon, known as “The Lizard.” Once you defeat the dungeon’s boss, collect the Triforce piece and the old man will give you the whistle as a reward.
- Find the entrance to Death Mountain: Death Mountain, the location of Dungeon 9, can be found on the overworld map. It is located in the northeast section of the map, towards the top-right corner. Look for a mountainous region with a cave entrance.
- Use the whistle to reveal the hidden entrance: Stand near the cave entrance on Death Mountain and use the whistle. This will reveal the hidden entrance to Dungeon 9. The entrance will appear as a set of stairs leading underground.
- Enter Dungeon 9: Once you’ve uncovered the entrance, simply walk over the revealed stairs and descend into Dungeon 9.
Inside Dungeon 9, follow the walkthrough provided earlier to navigate through the dungeon and defeat the enemies, collect items, and ultimately face Ganon to rescue Princess Zelda.
Here’s a walkthrough for Dungeon 9, also known as “Death Mountain,” in The Legend of Zelda for the NES:
- When you enter Dungeon 9, head up and take the right path. Defeat the enemies and continue moving up until you reach a locked door. Open it with a key.
- In the next room, you’ll find Goriyas. Defeat them to obtain the map.
- Go back to the previous room and take the left path this time. Defeat the enemies and continue moving left until you reach a locked door. Open it with a key.
- In this room, you’ll encounter a large number of Wizzrobes. Defeat them to obtain the compass.
- Go back to the previous room and continue moving up. In the next room, defeat the enemies and bomb the wall on the left side. Proceed through the newly revealed passage.
- In the next room, defeat the Wizzrobes and push the blocks to access the stairwell. Go down the stairs.
- You’ll find yourself in a room with invisible walls. Use bombs to reveal the walls and navigate to the lower-left corner of the room. Bomb the wall to access another room.
- In this room, defeat the enemies and push the blocks to reveal a hidden passage on the left side. Go through it.
- You’ll now be in a room with several locked doors. Open the locked door on the left side and defeat the Darknuts to obtain the magic key.
- Go back to the previous room and unlock the door on the right side. In the next room, defeat the enemies and bomb the walls to reveal a hidden passage on the left side. Go through it.
- In the following room, defeat the Patra enemy to obtain the silver arrows.
- Now, backtrack to the room with the invisible walls. Go to the upper-right corner of the room and bomb the wall to access a secret room.
- In this room, defeat the enemies and push the blocks to reveal a staircase. Go down the stairs.
- You’ll enter a room with a blue Darknut. Defeat it and proceed to the next room.
- In the next room, defeat the enemies and bomb the walls to reveal a passage on the left side. Go through it.
- You’ll find yourself in a room with several Like Likes. Defeat them and bomb the walls to reveal a passage on the left side. Go through it.
- In the next room, defeat the enemies and push the blocks to reveal a staircase. Go down the stairs.
- You’ll arrive in a room with Ganon, the final boss. Use your silver arrows to defeat him.
- Once Ganon is defeated, rescue Princess Zelda. Congratulations! You have completed Dungeon 9 and the game!
Remember to stay well-stocked on bombs and keys to progress through the dungeon smoothly. Good luck!
- Walkthrough 1
- Walkthrough 2
- Walkthrough 3
- Walkthrough 4
- Walkthrough 5
- Walkthrough 6
- Walkthrough 7
- Walkthrough 8
- Walkthrough 9
-
What If the PS1 Never Switched to CDs?

Written by Shimmers The launch of the PlayStation 1 in the mid-90s was a watershed moment for the gaming industry, primarily due to its move away from cartridges toward CD-ROM technology. This shift allowed for cinematic cutscenes, high-fidelity audio, and massive worlds. But what if Sony had played it safe and stuck with the industry-standard…
-
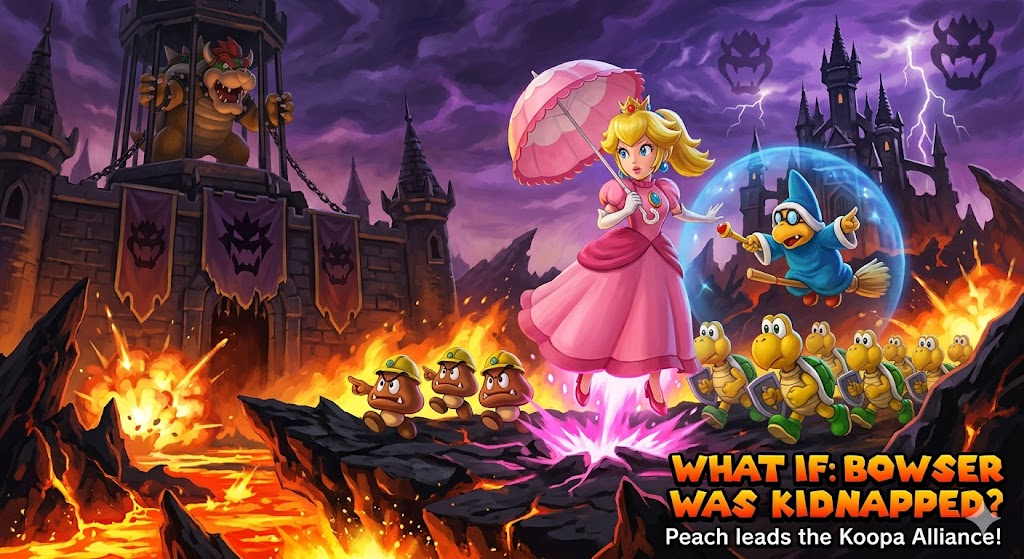
What If Bowser Was the One Being Kidnapped?
Written By Shimmers The Super Mario series has followed a familiar rhythm for decades: Bowser kidnaps the Princess, and Mario rushes to the rescue. But what if the king of the Koopas met his match? In this alternate timeline, a new, shadowy threat descends upon the Koopa Kingdom, whisking Bowser away to a far-off realm.…
-
Top 10 Two-Player Games for Couples
1. It Takes Two Widely considered the gold standard for co-op games for couples, this title follows a husband and wife who have been turned into dolls. Cooperation is mandatory, as every level introduces new mechanics that require both players to stay perfectly in sync. 2. Stardew Valley For those who prefer a slower pace,…


1 comment