How to clean a x box one
This is a tutorial for the older x boxes.
How to clean the outside of your X box one.
To clean your Xbox One, you can follow these steps:
- Turn off your Xbox One and unplug all cables from the console.
- Use a dry microfiber cloth or a can of compressed air to remove any dust or debris from the console’s exterior. Be careful not to scratch the surface.
- For tougher stains or dirt, you can use a damp cloth with a small amount of mild soap to clean the console. Be sure to wring out the cloth thoroughly so it’s only slightly damp.
- Clean the vents and fan area of the console with a can of compressed air, using short bursts of air to blow out any dust or debris. This is especially important as buildup in these areas can cause overheating and damage to your console.
- Clean your game discs with a soft, lint-free cloth, wiping from the center of the disc outwards. Avoid using harsh chemicals or abrasive materials, as they can damage the disc.
- Finally, reassemble your Xbox One and plug it back in. Turn it on and make sure it’s working properly.
Regular cleaning of your Xbox One can help ensure it stays in good working condition and prolong its lifespan.
How to take apart your x box one
We do not recommend taking apart your Xbox One unless you have experience with electronics and are confident in your ability to safely disassemble and reassemble it. Opening your Xbox One can void your warranty and potentially cause damage to the console if not done correctly.
If you need to take apart your Xbox One for repairs or cleaning, we suggest consulting an experienced technician or contacting Microsoft for support.
However, if you still want to proceed with taking apart your Xbox One, here are the general steps involved:
- Turn off your Xbox One and unplug all cables from the console.
- Use a plastic pry tool to remove the plastic cover from the top of the console. You may need to remove some screws or clips first.
- Use a Torx screwdriver to remove the screws holding the metal casing in place.
- Carefully lift the metal casing off the Xbox One, exposing the internal components.
- To remove specific components, such as the hard drive or disc drive, you may need to remove additional screws or clips.
- When reassembling your Xbox One, be sure to follow the disassembly steps in reverse order, ensuring that all components are properly seated and all screws and clips are tightened.
Again, we strongly recommend seeking professional assistance if you are not experienced in working with electronics or if you are unsure about any step in the process.
-
Is Pragmata the Next Dead Space? Capcom’s Sci-Fi Epic Explained

The Moon Calls: Why Pragmata is April’s Must-Play Sci-Fi Epic After six long years of cryptic trailers, “internal shifts,” and those infamous handwritten apology notes, Capcom’s most mysterious project is finally a reality. Pragmata officially launches on April 17, 2026, and if the recent “Sketchbook Demo” is any indication, the wait might have actually been…
-
10 Best Xbox Series X RPGs to Play in 2026:

The Ultimate Tier List 1. Clair Obscur: Expedition 33 If you haven’t played the 2025 Game of the Year yet, what are you doing? This is the game that proved turn-based RPGs could be cinematic masterpieces. 2. Crimson Desert The new heavyweight of 2026. If Expedition 33 is about strategy and story, Crimson Desert is…
-
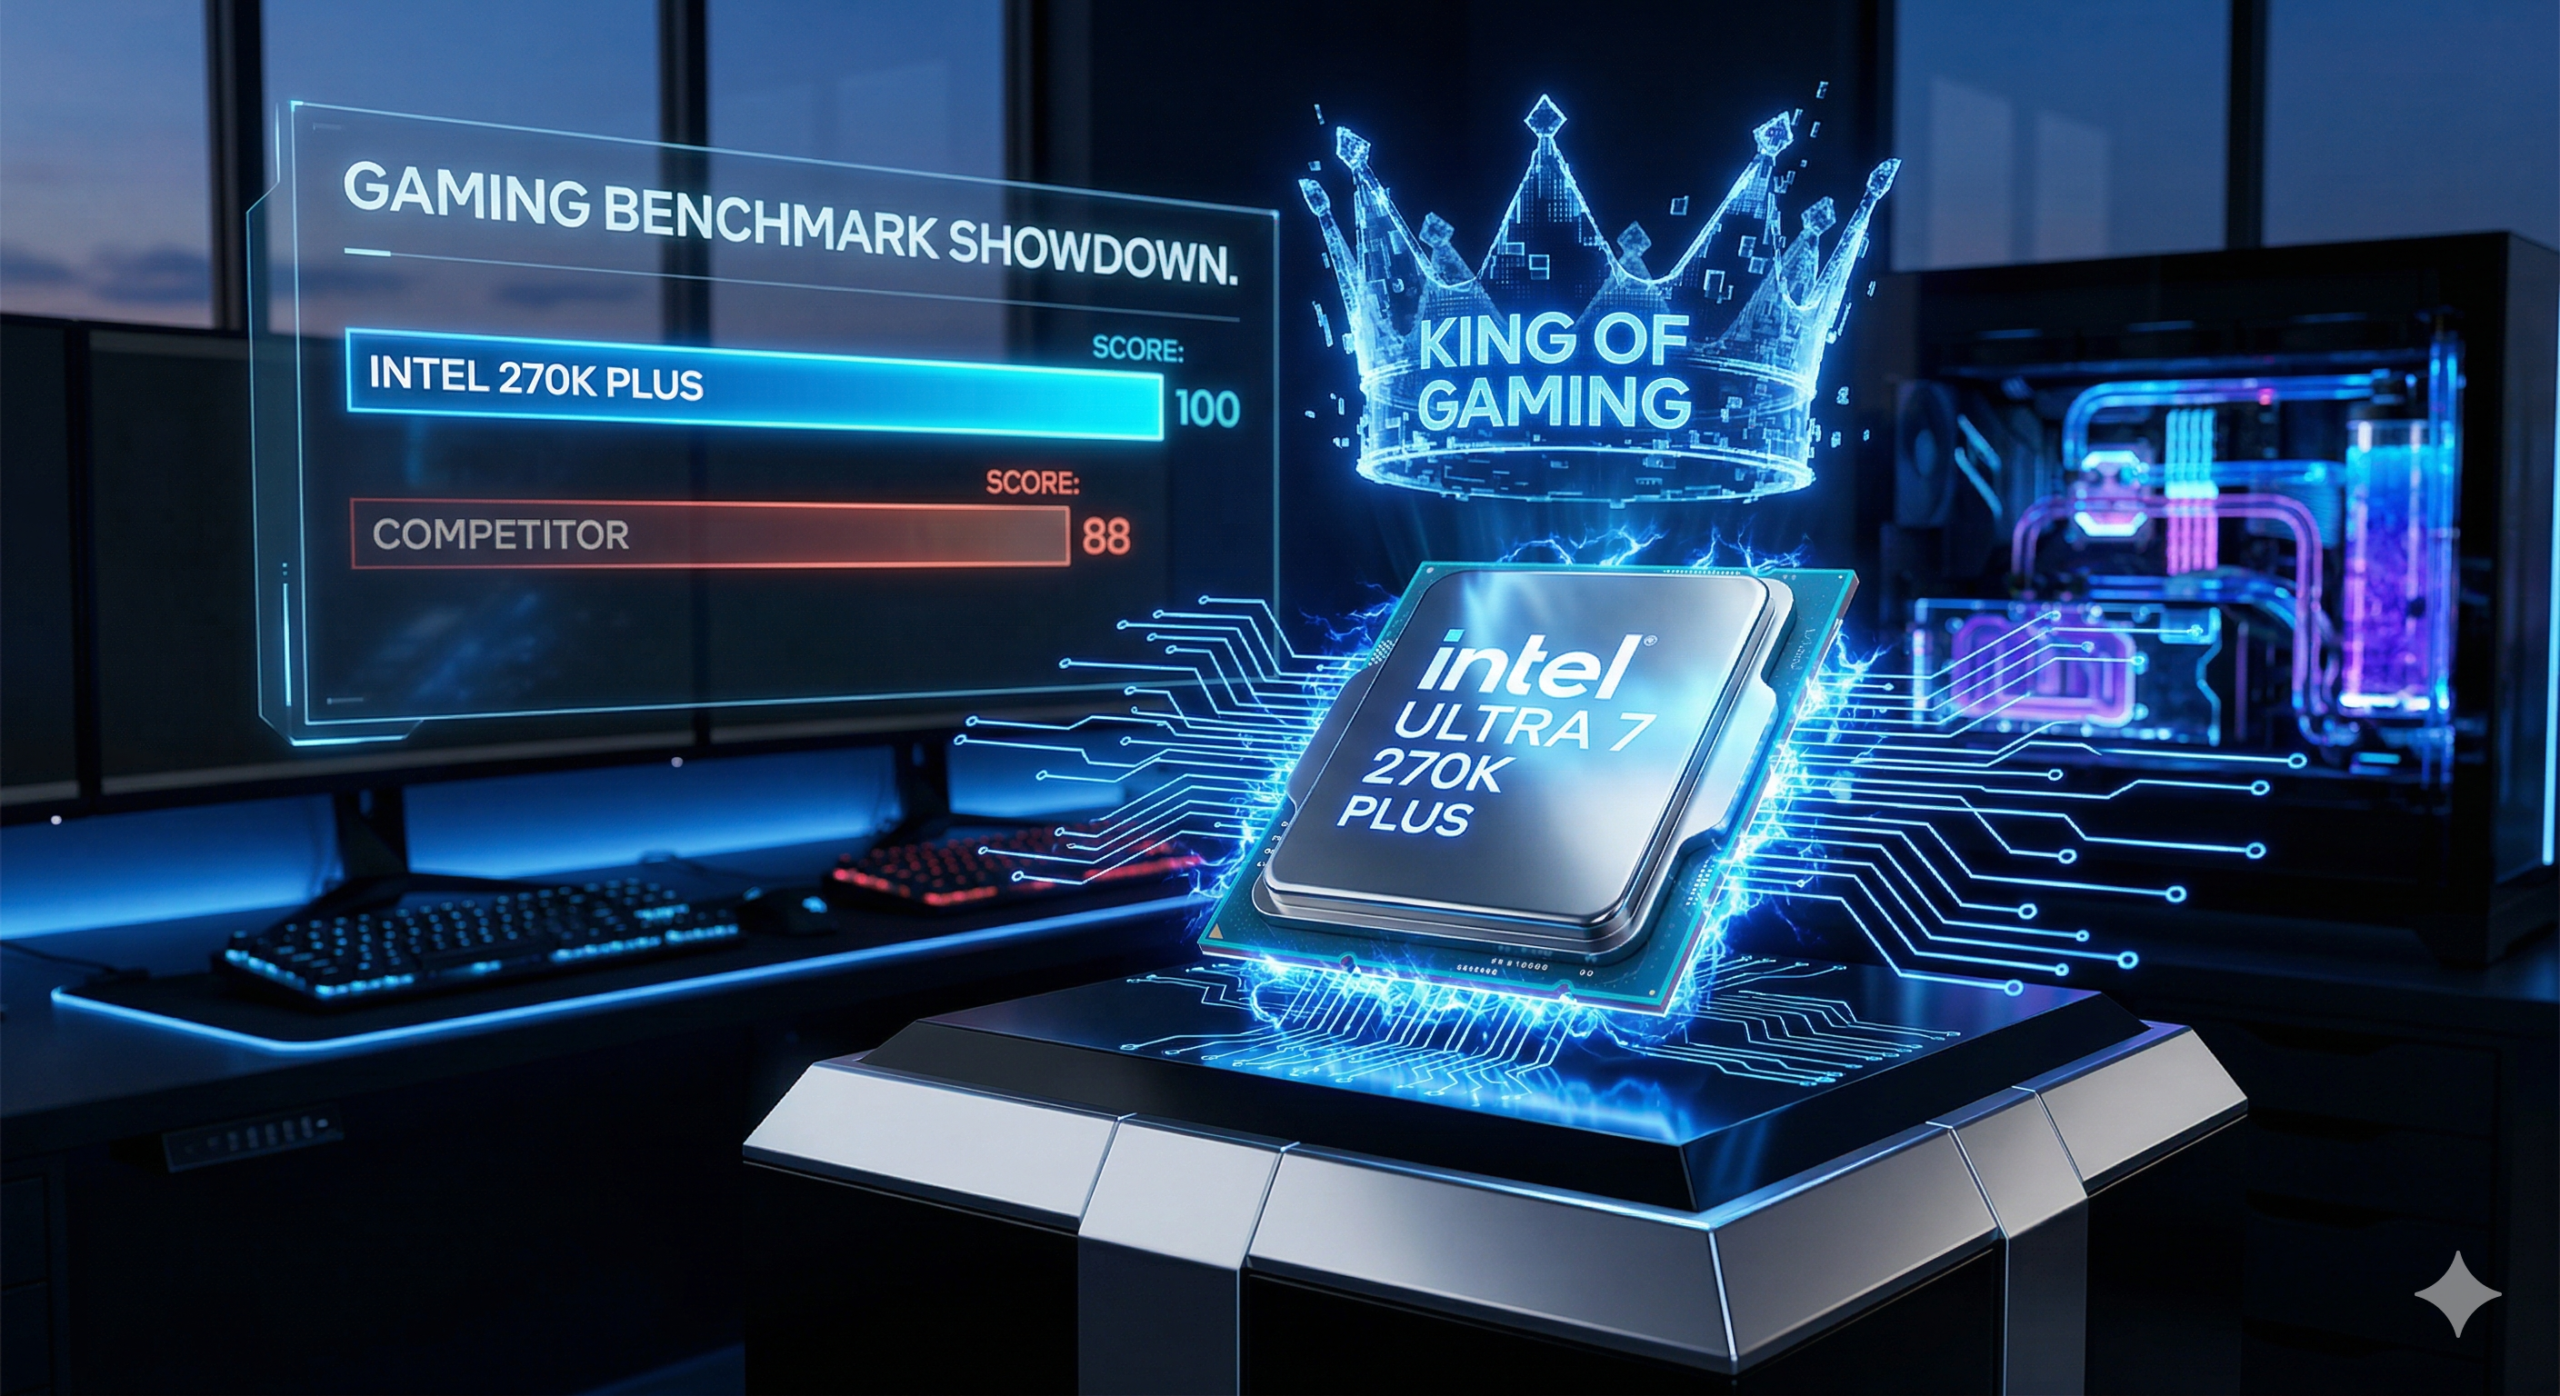
Intel’s Revenge? The Core Ultra 7 270K Plus Just Reclaimed the Gaming Crown
If you’ve been following the CPU wars, you know Intel has been playing catch-up to AMD’s X3D chips for a while now. But as of today, March 31, 2026, the benchmarks are in, and the Intel Core Ultra 7 270K Plus isn’t just competing—it’s dominating. The “Plus” Factor: What Changed? Intel surprised everyone by dropping…

 5")


Post Comment